Revisiting Old Favourites For Inspiration Today

Summer Silhouettes was a wood mounted rubber stamp set and I loved it. I created the card above in 2014 and loved this vintage look. It was of it’s time, however I love to use our new stamp sets to recreate cards I made way back, so here we go…….
A great way to use the inspiration we find in our old loved projects is to sketch the elements and then use this sketch as a starting point for new designs. Cards Sketches can be rough or detailed, whatever works for you. Personally I’m no artist, and so mine are usually rough. I have a lovely little notebook with Grid Pages and as a rule this is where my sketches are along with measurements for my elements and all my 3D projects. It’s like my crafting Bible.
Here’s the sketch I roughed out for this design and I will pop this into my little book for using in the future.

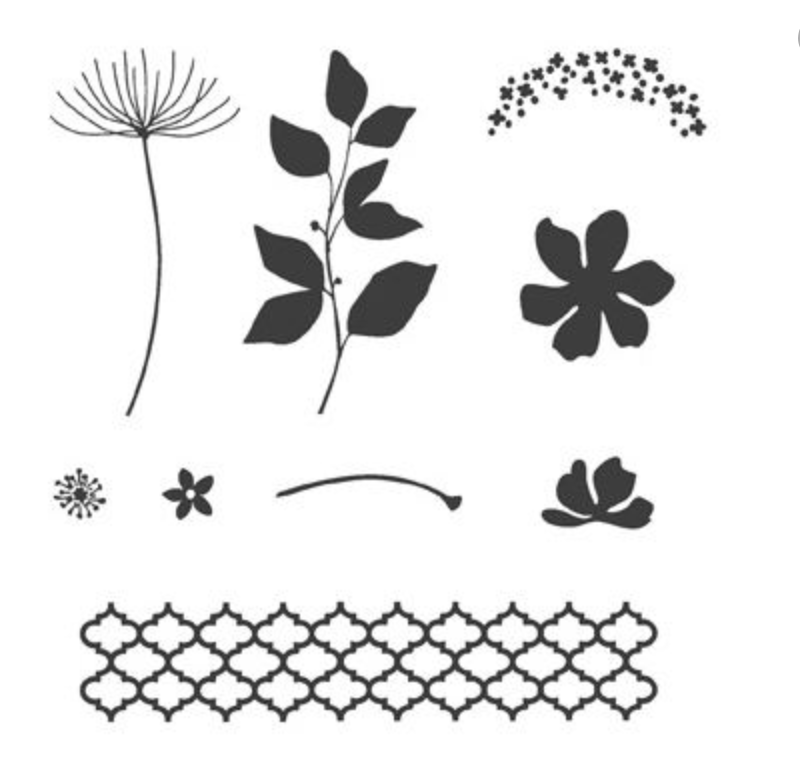
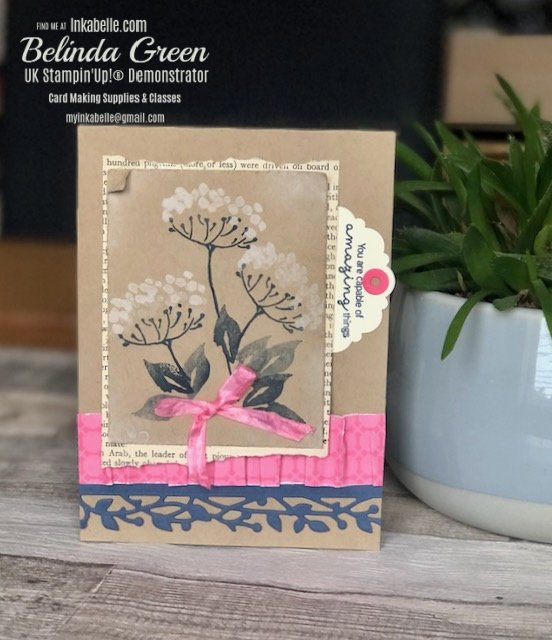
The Hand Penned stamp set is an absolute new favourite and with matching dies including a fab scalloped stitched border it was perfect for a recreation. I had not received my dies when I created this new version, so I used a die from the Birds and More set, but would definitely substitute the scalloped border as I really think it’s simplicity is more suited to the card design.


 Designer Series Paper")


")
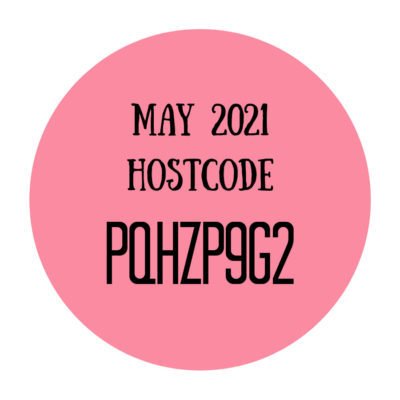
If you are loving any of these products then please remember that you can earn rewards by shopping online with me and using the host code for May at the bottom of this post. Clicking on any image above will take you straight to my online store. You can create an account easily and shop securely.
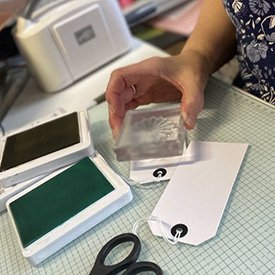
I have a full tutorial created to go along with this card, but here are the basic ways I created this fun vintage effect.
I used a piece of paper from an old book I’d bought in a charity shop to layer behind the Crumb Cake stamped piece. This is my go to for creating a text background. I used the edge of my scissors along the edges of the stamped panel to add some wear and create the more vintage look. The Craft White Ink sponged very lightly around the edges adds to that ‘lived in’ look! The patterned paper was 1 inch x 6 inches and I broke the fibres gently with my bone folder and pleated it across the card after laying down a strip of tear and tape (our double sided tape)
You can get this Tutorial and a new one each week by signing up for my WEEKLY emails.
Please don’t forget our JOIN+ offer is available until May 31st you can shop for £154 of product for just £99 when you buy the Starter Kit, P&P Free, when you join The Inkabella’s Team, and by the way we are a fabulous bunch.
Love Bel x
Leave a Reply