Facebook Live at the Stamping Spot
Sometimes I look at a card blank and think I would like less blank space, but I want the option of having the colours and subtlety suit my needs. Perhaps you have few supplies and want to add texture to your background, or maybe you want the card you are creating to have a layered look without adding lots of bulky layers? I’m all for simple stamping cards, don’t get me wrong sometimes I will go all out and create something very layered and fancy, but other times when being creative calls to me, there maybe a lack of time, materials, or just mental bandwidth I love adding some stamping in the background to make a card that little bit more unique.
Many stamp sets have smaller stamps within them and these can make great background elements. It could be an infill for a two step stamp, or maybe a speckle stamp, or perhaps a small icon stamp, these all work well.
Background Specific Stamp Sets
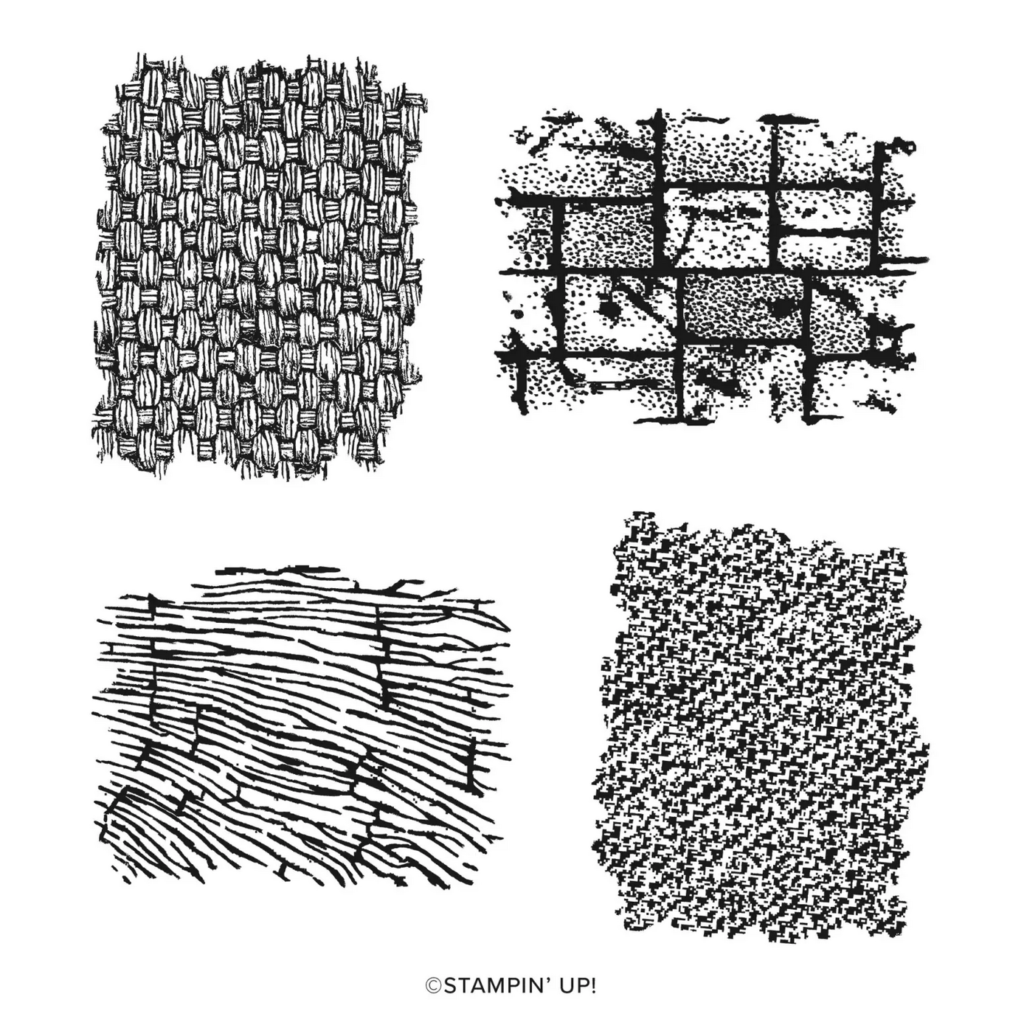
There are some great Stampin’ Up! stamp sets that are made specifically for the purpose of creating fun background effects. I am especially enjoying using the Natural Textures and the Watercolour Shapes sets and on today’s Facebook Live I featured these two sets. The Natural Textures has a real organic feel with, as the name suggests the effect of a basket weave, a wood texture a block paving/tile look and a hessian style texture in the four cling rubber stamps in this fabulous set. It’s at the back of the catalogue in the ‘Host Rewards’ section, this means that this stamp set can be purchased with stamping rewards earned with a qualifying order of £150 either from one large order or perhaps a card class you might be the ‘Host’ of where the costs of the class can add up to £150 or more. I’m happy to accomodate ‘Virtual Parties’ for you and your friends and they are great fun, and a lovely way to get together. Please make contact if you are interested in a crafty get together.
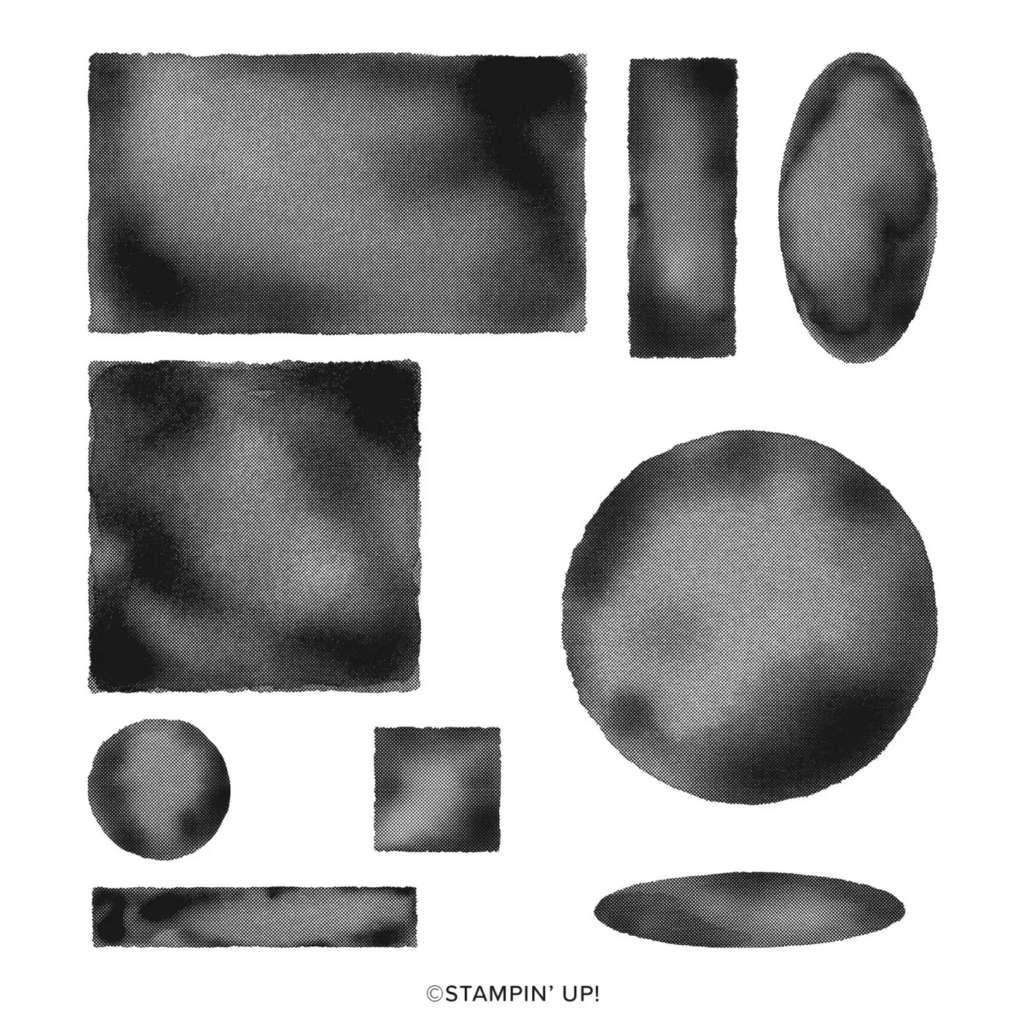
Watercolour Shapes is a great stamp set that looks fantastic overlapped with different colours, therefore creating new colour combinations. It can be used tone on tone to add a more subtle effect. This type of stamp creates an imperfect look with lots of texture and so it works best with much less ‘juicy’ inkpads. I showed a tip during my Facebook live of how to help you if you do find your inkpads a little too juicy. This stamp set is ideal for new stampers with lots of great techniques you can utilise to make fun projects, this set is so versatile.
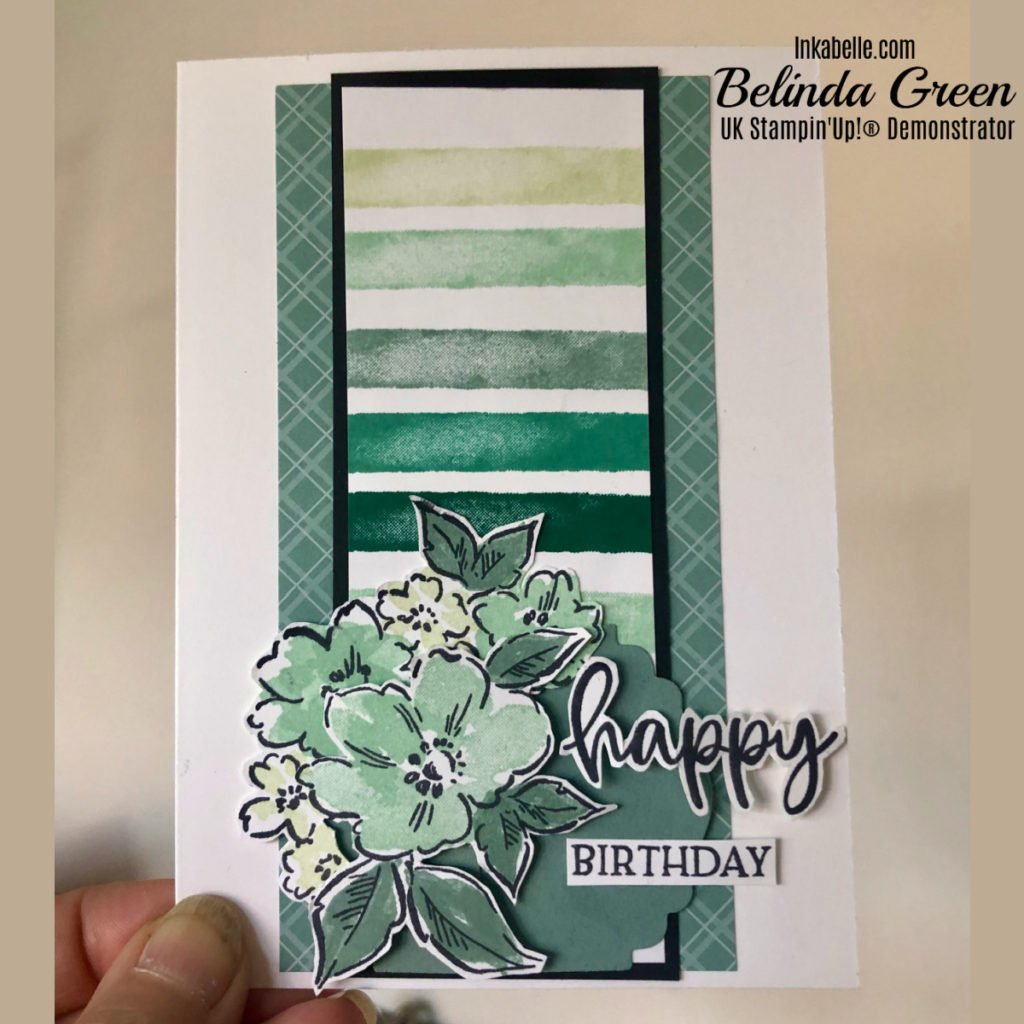
Click the photo below of my card & watch how I created it on my Facebook Live
Using Sentiments for Background Stamping.
Generic cards can sometimes be harder to create for me and this is when I might reach for some sentiments that convey the idea behind the card, but make it less specifically for a gender or a generation. It is also great to have a number of backgrounds ready to go in a baggy so that I can create a quick card that can meet more specific needs as and when I may need it. This is when I really like to use a sentiment repeated as a background element and there are some clever tricks to make this technique either stand out, or be very subtle.
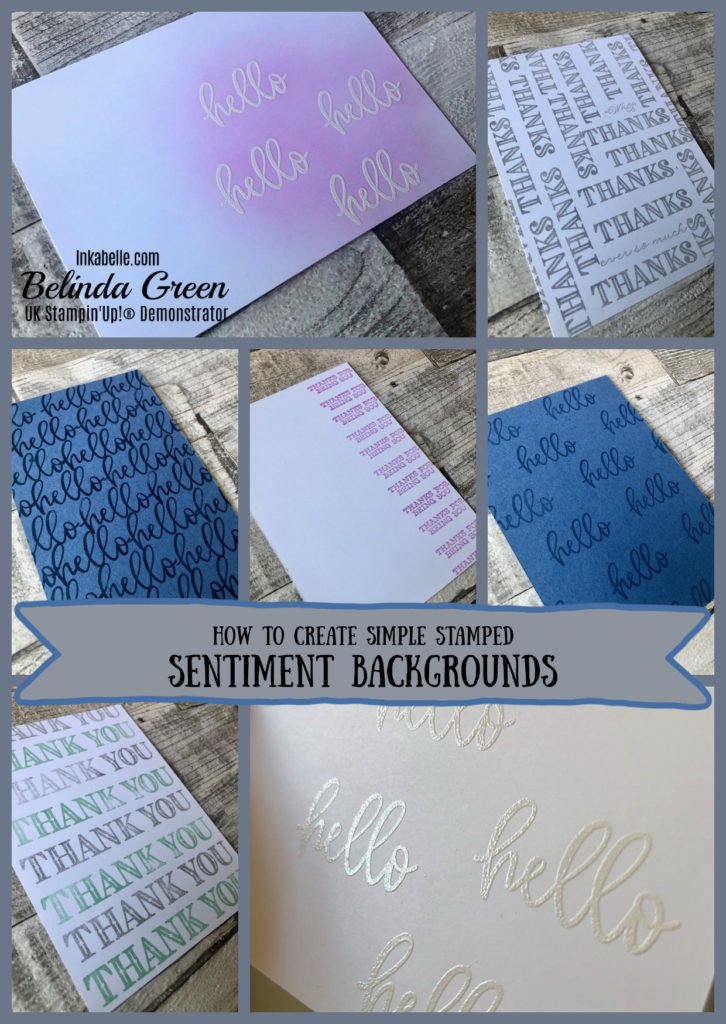
10 Ways to Use Sentiment Stamps to Create Backgrounds
- Use an impactful colour and randomly stamp the sentiment, try horizontal and vertically to fill up the space.
- Stamp in a horizontal and vertical orientation with the same colour ink as card for a more subtle tone on tone look.
- Use the sentiment in a tiled effect with either tone on tone or impactful colour (the stamparatus makes this simple)
- using a large acrylic block arrange a number of sentiment stamps in a pattern to meet each other in different directions. Ink up and stamp to create a ‘text background’
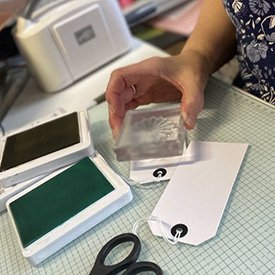
- Stamp the sentiment in Versamark ink for a very subtle tone on tone look on coloured card.
- Use Versamark and Embossing Powder and create a ‘Resist Technique’ by adding ink over top with blending brushes, daubers or sponges.
- Create a ‘Cluster’ on a card by stamping the sentiment several times in an area on your card base and then adding a focal cluster of cut out stamps or cut out patterned paper with the sentiments on the card forming a grounding behind the cluster. This works well at the bottom right of a card.
- Use the sentiment to stamp a border horizontally or vertically (the stamparatus would make this simple)
- Use a rainbow of colours with the same sentiment to create a bright happy background.
- Use the ‘Kissing Technique’ to add ink to a more solid sentiment and stamp repeatedly to create a softer more vintage background.
I’m really looking forward to creating some cards from these backgrounds over the next couple of days, so please pop back and see how simple it is to just add a few elements and come up with simple cards with very little in the way of supplies.
All the items I use at my Stampin Spot are available from my online Stampin’ Up! shop, clicking any of the products in the product list will take you directly there. You can subscribe to my Newsletter and hear all about my Inkabelle updates, offers and events as well as those from Stampin’ Up! by using the form in my sidebar.
Product List


")
")


 Designer Series Paper")
Happy Stamping
Love Bel x
Leave a Reply